Glow rings and suckers!
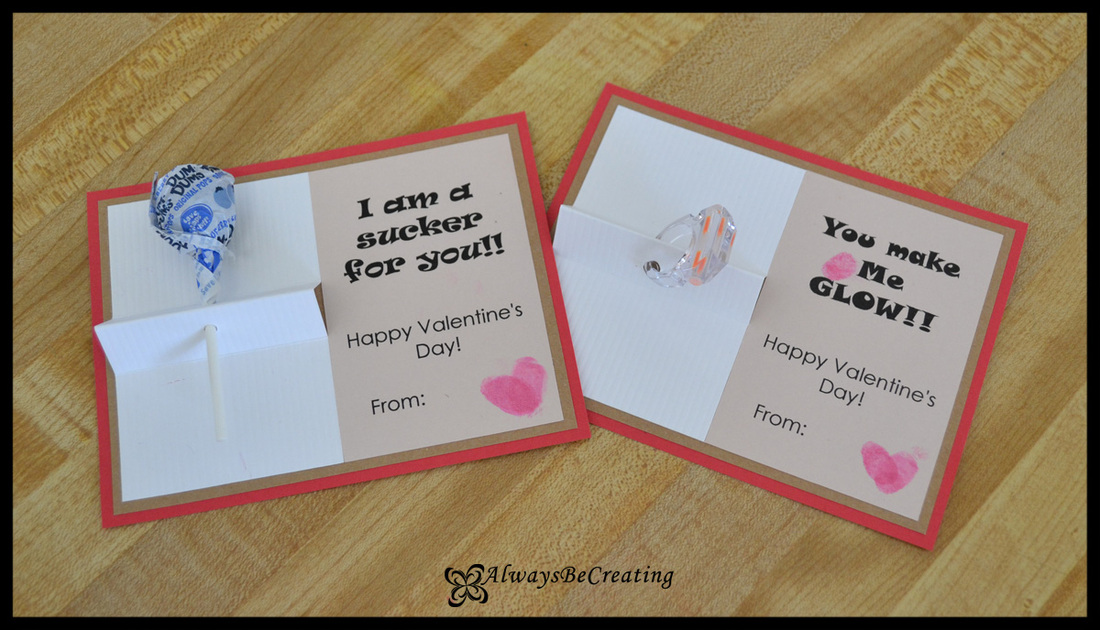
Instead of waiting until the last minute, when Valentine Cards would be on sale for 70% off, I decided to do homemade cards for Lady A's friends. These kids are all toddler age so the cards needed to have something that would minimize the sticky mess mom and dad would have to clean up. I am so excited about how cute these turned out and they were super easy.
Instead of waiting until the last minute, when Valentine Cards would be on sale for 70% off, I decided to do homemade cards for Lady A's friends. These kids are all toddler age so the cards needed to have something that would minimize the sticky mess mom and dad would have to clean up. I am so excited about how cute these turned out and they were super easy.
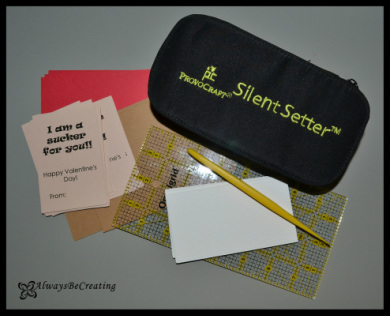
You'll need cardstock in four different coordinating colors.
Color one: cut the 8 1/2"x11" into four equal pieces {4 1/4"x5 1/2"}
Color two: cut into pieces 4"x5 1/4"
Color three: Print then cut 3 3/4"x2 1/2 Download the PDF here.
Color four: 4 1/4"x2 1/2"
Color one: cut the 8 1/2"x11" into four equal pieces {4 1/4"x5 1/2"}
Color two: cut into pieces 4"x5 1/4"
Color three: Print then cut 3 3/4"x2 1/2 Download the PDF here.
Color four: 4 1/4"x2 1/2"
With the pieces printed and cut it is time to get fourth piece ready for the suckers and rings.
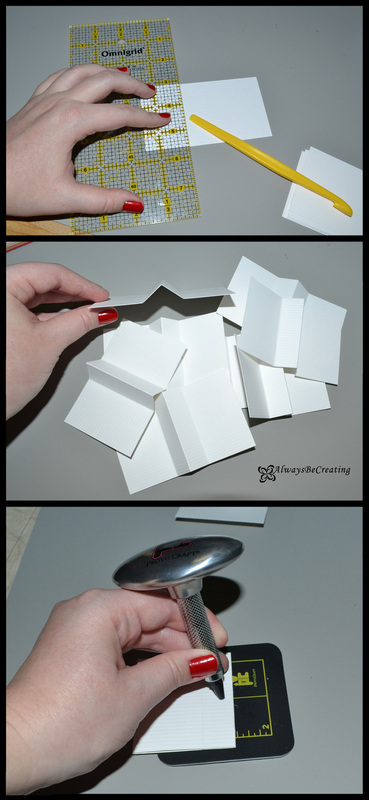
Fold right sides together 1 1/2" from top then repeat from bottom. Fold in half in the opposite direction.
Place a hole, big enough to fit your item, between the top and center folds, repeat for bottom hole.
Note: Cardstock can be hard to fold and make sure that the crease ends up in the right place. I simply placed a ruler where I wanted the crease to be then took an orange peeler {anything with a solid corner will work} and ran it down the side of the ruler.
I used a nifty little setter kit that my mother-in-law got me from Provo Craft. It has three different hole punch sizes and two of them worked perfect for this project.
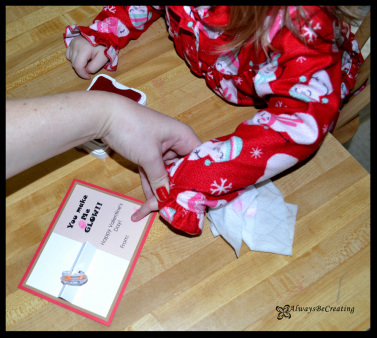
Now layer and glue everything together. You could add brads, chalk, ribbon or any other embellishments that you would like. I had Lady A do finger print hearts since she is still a bit little to write her name. If your toddler is anything like mine, there will be extra finger prints too, this just adds to the handmade feel. I would suggest keeping a wet wipe or paper towel handy to clean up any messes that happen.


 RSS Feed