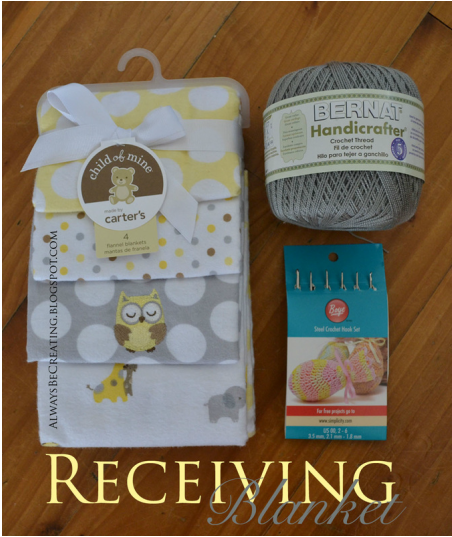
MATERIALS/SUPPLIES
Package of Flannel Receiving Blankets
Crochet Thread
Crochet Hook size 4/2.00mm
Grip Handle. My MIL uses this comfort cushion. I haven't found it out here where I am but found it online.
Package of Flannel Receiving Blankets
Crochet Thread
Crochet Hook size 4/2.00mm
Grip Handle. My MIL uses this comfort cushion. I haven't found it out here where I am but found it online.
To start off this year's 49Fifty project I wanted to share a few of the fun receiving blankets that my mother-in-law gave us when Little Miss E. joined our family last spring.
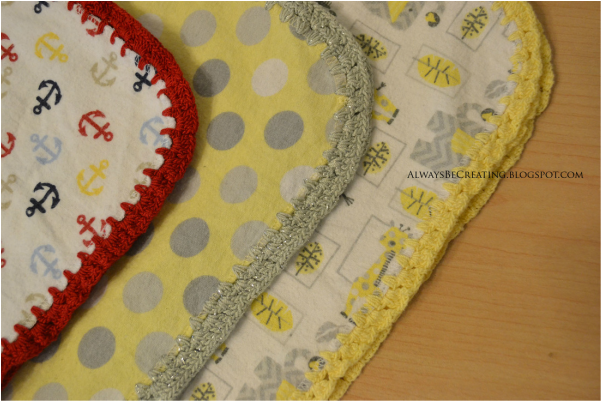
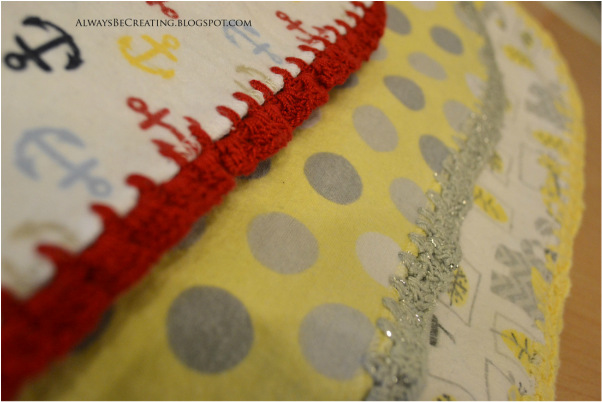
These are the perfect blanket for a spring or summer baby. The cute little crocheted edge gives it some personality without being too over baring. You can wrap up your little one without worrying that they'll get too hot as they are swaddled. These little blankets don't take up your whole diaper bag and are great for travel. We know because we drove from Connecticut to Utah last spring. These blankets were great for placing over the baby in her car seat or to wrap her up when we needed to get out at rest stops and stretch our legs.
These are the perfect blanket for a spring or summer baby. The cute little crocheted edge gives it some personality without being too over baring. You can wrap up your little one without worrying that they'll get too hot as they are swaddled. These little blankets don't take up your whole diaper bag and are great for travel. We know because we drove from Connecticut to Utah last spring. These blankets were great for placing over the baby in her car seat or to wrap her up when we needed to get out at rest stops and stretch our legs.
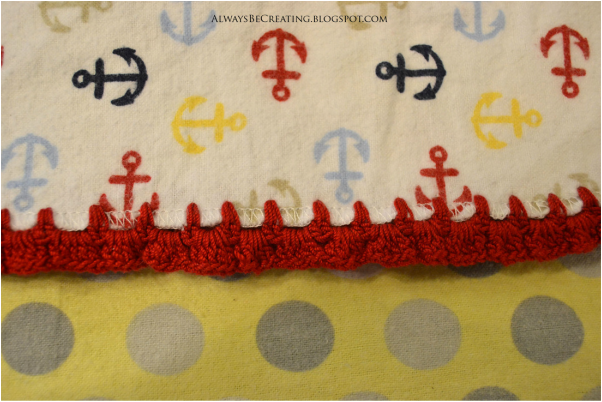
These flannel blankets work great. They are the right size and already finished with a serged edge.
INSTRUCTIONS
Place the grip on your hook, if you are going to use one.
Use the hook to first poke holes around the blanket, just inside the surge stitch, about 1/4" apart. It does not need to be perfect but I do like to keep a ruler out in front of me so that I have a visual reference to look at every once in a while. You might also use the ruler and a quilting marker to mark every 1/4" and stay perfectly spaced.
Row one: SC* in hole you choose to start at. CH 3-5**, repeat until you have gone all the way around. SLST to connect. CH 2
Rowtwo: 4DC*** in space created from CH's in previous row.
*I start at a spot about 1/3 of the way down one side, that way its not centered or on a corner where it will be noticeable but it is easier to blend in.
**The number of ST needed for the chain will depend on how far apart you spaced your holes around the edge of the blanket.
***As a rule I use as many DC's in Row two as I used CH's in Row one. But this is where you can add variation and fun. The more DC's added to each CH section, the trim will have a ruffle look. You can do a scalloped edge with a pattern something like {Remove 2 CH from end of Row one. Round two: in Previous row CH section add SC, DC, TR, DC, SC, SLST in top of SC from previous row, repeat. SLST to connect at end}.
My MIL is super fast at making these, me....not so much. But this is a great project to work on in the evening while watching TV or in longer car rides.
I would love to hear from you and see your projects. Leave a comment or #AlwaysCreate on your photos. Find me on Instagram {@AlwaysCreate} and follow along for behind the scenes and fun little extras.
I would love to hear from you and see your projects. Leave a comment or #AlwaysCreate on your photos. Find me on Instagram {@AlwaysCreate} and follow along for behind the scenes and fun little extras.


 RSS Feed